Potable CMM

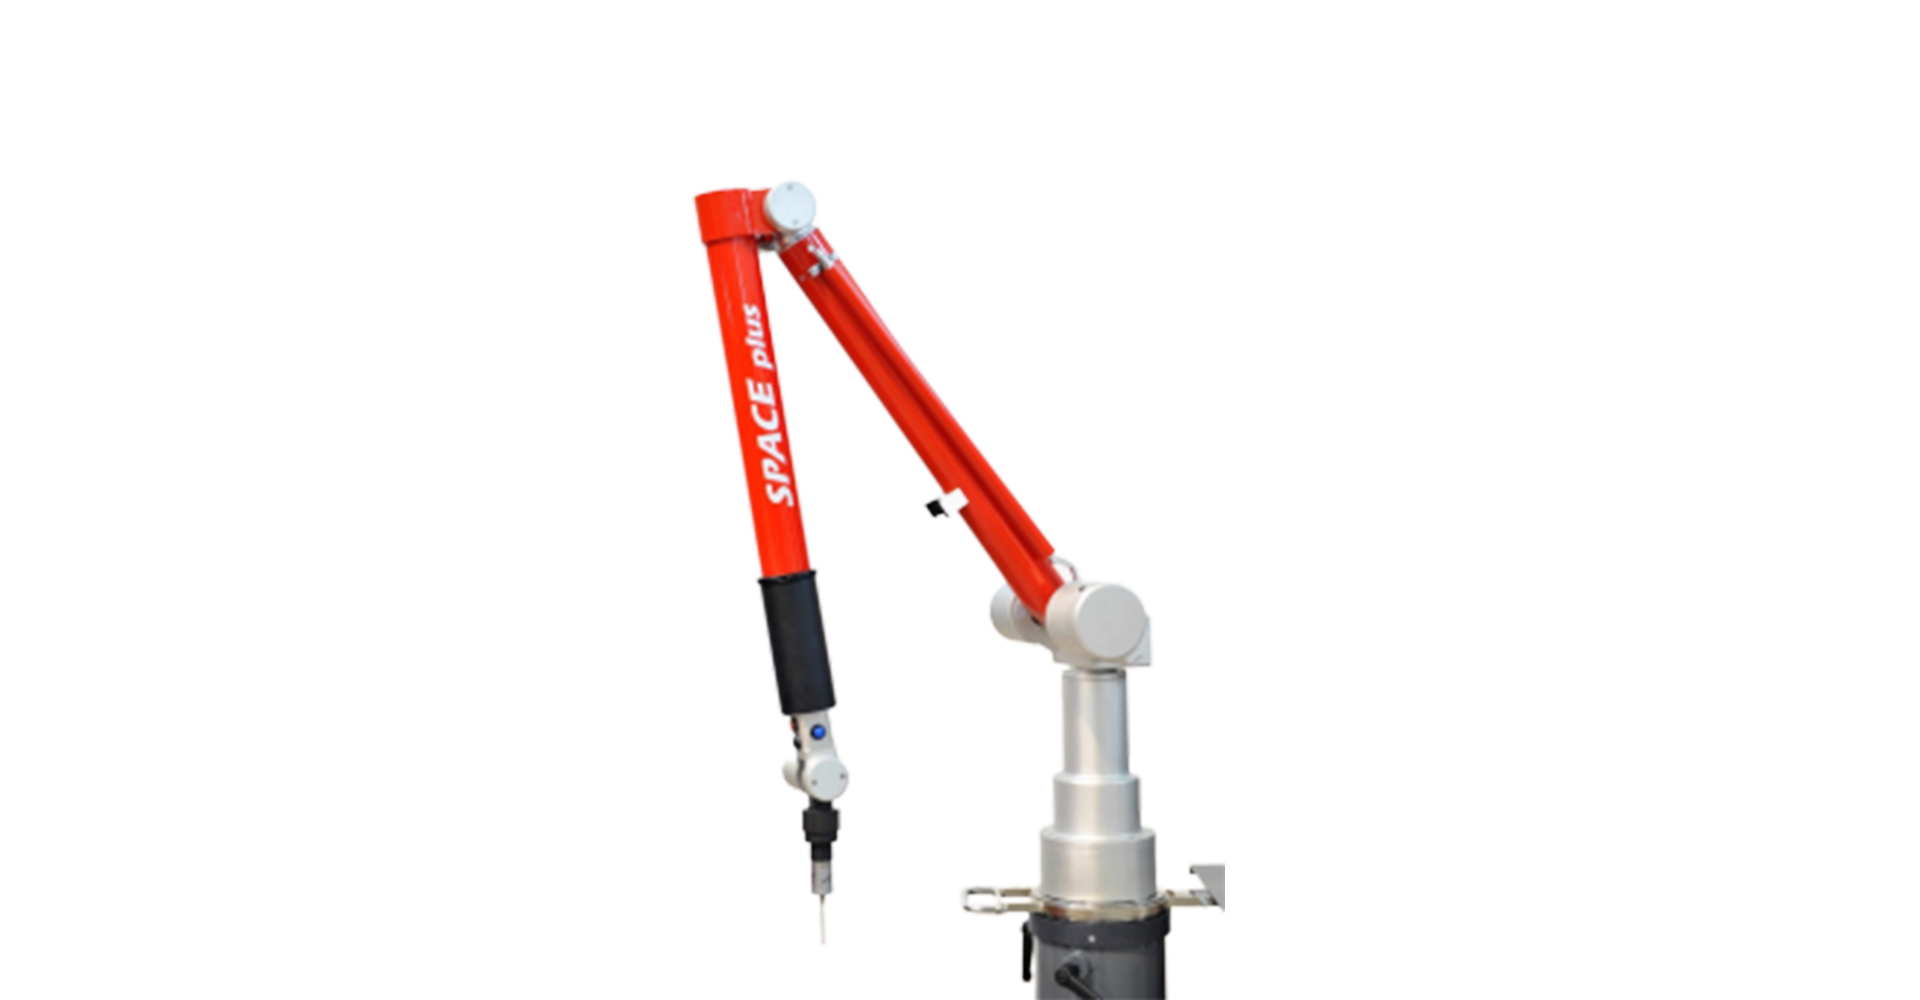
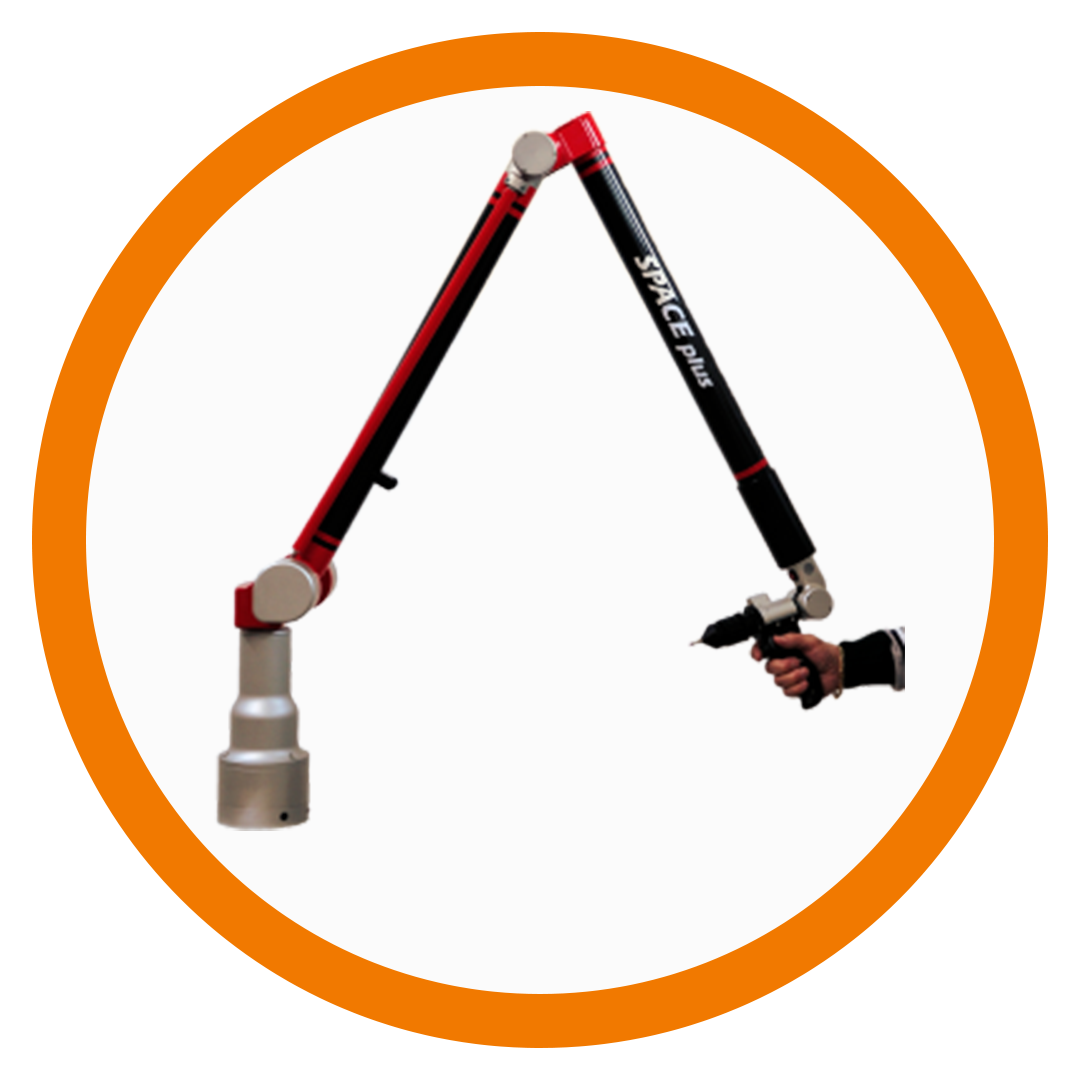
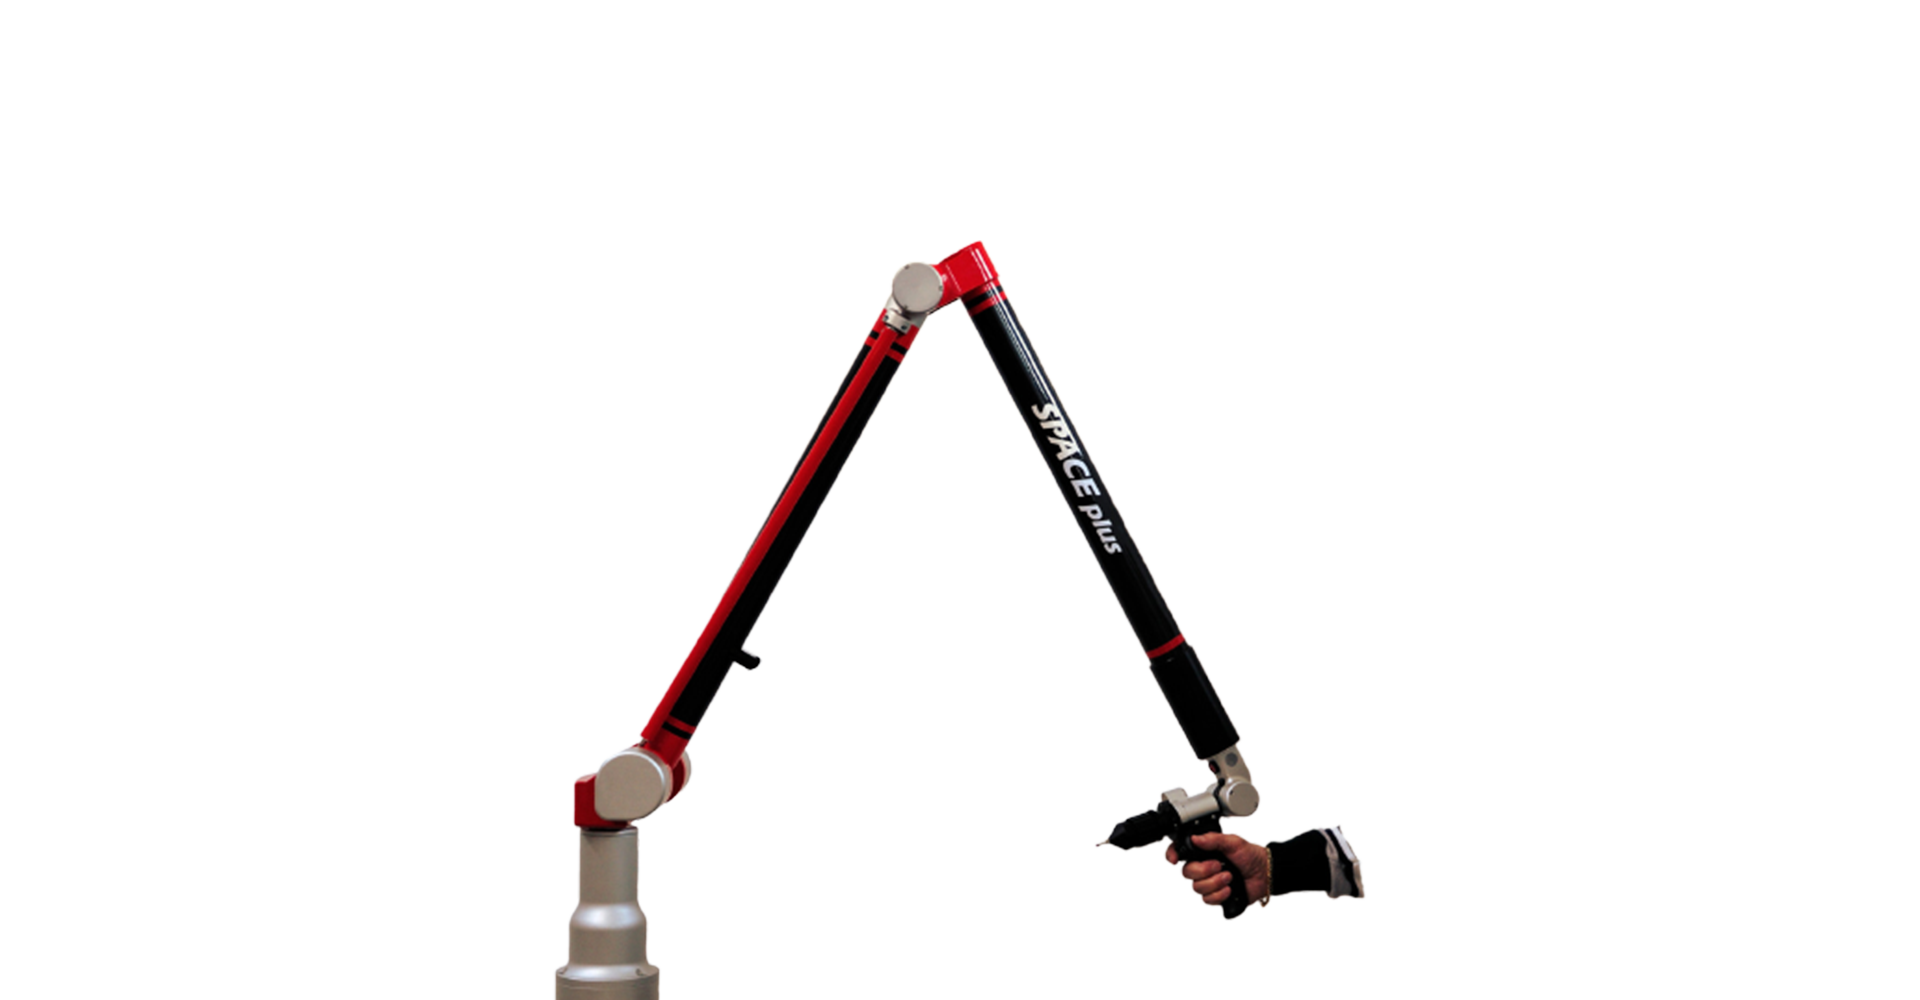
The SPACE Plus and the SPACE are two portable articulated arms CMM, ideal for quick and accurate inspection of any parts within its range.This version has some unique features like the magnetic brake, Which prevent accidental fall of the arm and improved electronics for better performance.Our new arm is the top of reliability, accuracy, and flexibility in use.

About the Product

The SPACE arm is the entry-level version of SPACE Plus arm with light electronics, available only in 6 axes configuration and without the electromagnetic brake.

Touch trigger probe, “floating” probe and laser forks can be quickly interchanged thanks to a high precision mount.

It’s suitable also for pipe inspection with laser fork and dedicated software.

This system is the combination of a 7th AXES ARM + HI – END Scanner a new family of line -range laser probes that are ideal for complex-profile contour scanning.

There are available three brand of laser scanner.

The PRECITrack3D model ALP , laser scanners than capturing up to 1,28,000 points per second .

All Laser Scanners can be quickly applied to the rotating 7th axis of the SPACE ARM.

This system features digital(ASCII) coordinate output, a visible beam , a Class II rating for safe and easy to-see operation and along standoff.

The CMOS cameras featuring simultaneous scanning , are standard to assist with steep sidewall and recessed geometry capture.

Any of the laser scanner can be used in the SPACE ARM SYSTEM , as well as any 3rd party software integrated.

Features

of straight tubesextended CMM workstation

of bent tubes measuring just the straight lengths

of bends (survey the bending radius)

of consecutive bends (absence of straight length between one bend and the other one, also called bend-to-bend)

of secondary tubes welded to the main tube

of RCV (variable radius bend) tubes

Possibility to change tube diameter during the measuring procedure​

of tubes having non circular section (profiles)

Creation of material archive for the spring-back compensation to apply to the bending program.

Comparison and correction (classic mode) linked to the CNC

Alignment: possibility to obtain the data of the measured tube regarding (aligned) a master tube that is already in memory, to an external reference or to a drawing (manual and automatic procedure).
Specifications

Space Plus Measuring Angle Volumetric Accuracy Point Repeatability Weight
Space 1.8 Plus -6 axes 1800mm 0,020 0,012 8,4
Space 2.5 Plus -6 axes 2500mm 0,026 0,016 8,9
Space 3.2 Plus -6 axes 3200mm 0,036 0,020 9,3
Space 4.0 Plus -6 axes 4000mm 0,046 0,024 10,0
Space 1.8 Plus -7 axes 1800mm 0,027 0,017 8,9
Space 2.5 Plus -7 axes 2500mm 0,034 0,021 9,4
Space 3.2 Plus -7 axes 3200mm 0,045 0,026 9,8
Space 4.0 Plus -7 axes 4000mm 0,056 0,030 10,5
Space PLUS series (6 and 7 AXES ARM) – all values in mm – *=2 sigma error (mm)
Laser Scanner Volumetric Accuracy Space Plus/explorer + Alp Scanner(For Reference Only**) Measuring Range (MM) Tactile Volumetric Accuracy* Point Repeatability Weight
Space Plus 1.8 – 7 axes 1800 0,027 0,032 0,020 9,7
Space Plus 2.5 – 7 axes 2500 0,034 0,040 0,025 10,2
Space Plus 3.2 – 7 axes 3200 0,072 0,053 0,030 10,6
Space Plus 4.0 – 7 axes 4000 0,056 0,065 0,035 11,3
Explorer 5.0 – 7 axes 5000 0,075 0,87 0,045 13,9
Explorer 7.0 – 7 axes 7000 0,090 0,104 0,060 15,4
Explorer 9.0 – 7 axes 9000 0,110 0,127 0,075 17,9
Space Scan – 7 axes laser scanning arm – *2 sigma error (mm) – **with mod. ALP-50

Our Clients